Coffee Brewing Methods
Best Aeropress Techniques: The Complete 2026 Brewing Guide
By Rachel Chen, Coffee Brewing Specialist · Updated 2026-06-20

The Aeropress is the most versatile coffee brewing device in the world. It is compact enough to travel with, durable enough to survive a backpack, and flexible enough to produce everything from a near-espresso concentrate to a clean, bright filter-style cup. But most people use it wrong — or at least, suboptimally. This guide covers every proven Aeropress technique so you can consistently brew coffee that rivals what you get at a specialty café.
The Aeropress was invented by Alan Adler, a Stanford University lecturer and mechanical engineer, in 2005. Since then, it has become one of the most beloved tools in the coffee community — not just for its affordability and portability, but for its extraordinary flexibility. Unlike an espresso machine that is locked into one brewing method, the Aeropress invites experimentation at every step.
This guide breaks down every technique worth knowing, from the official World Aeropress Championship methods to the inverted brew that enthusiasts swear by. Whether you are a complete beginner or a seasoned home barista looking to refine your approach, there is something here for you.
Table of Contents
- What Is the Aeropress and Why It Deserves Your Attention
- The Standard (Classic) Aeropress Method
- The Inverted Aeropress Method
- The Espresso-Style Technique
- The Metal Filter Technique
- The Immersion (Long Brew) Technique
- The Cool to Hot (Flash Brew) Technique
- Comparing the Top Aeropress Techniques
- Common Mistakes to Avoid
- Equipment Recommendations
- Frequently Asked Questions
- Sources & Further Reading
What Is the Aeropress and Why It Deserves Your Attention
The Aeropress is a manual brewing device that uses air pressure — not gravity — to push water through coffee grounds. The mechanism is elegantly simple: you add ground coffee and hot water to a cylindrical chamber, insert a plunger, and then push down. The air pressure inside the chamber forces the brewed coffee through a paper or metal filter and into your cup below.
What makes this mechanism remarkable is the speed and control it offers. A full extraction takes between one and two minutes from start to finish. Compare that to a French press (which requires four to five minutes of steeping) or a pour-over (which demands careful, continuous pouring technique). The Aeropress compresses all of that into a single, compact action.
Alan Adler designed the original Aeropress with a few key advantages in mind:
- Speed: Brew and drink in under two minutes
- Portability: Weighs less than 300 grams and fits in a carry-on bag
- Durability: Made from BPA-free plastic that will not shatter or crack
- Flexibility: Works for espresso-style concentrate, filter-style coffee, cold brew, and everything in between
- Easy cleanup: One spent filter and a quick rinse is all it takes
The Aeropress has also become a competitive brewing tool. The World Aeropress Championship, held annually since 2008, draws hundreds of competitors who develop increasingly creative recipes using the device. Many of the techniques pioneered in competition have filtered down into everyday home brewing, and this guide covers the best of them.
The original Aeropress (sometimes called the "Aeropress Classic" or "Aeropress GO") uses a plunger mechanism with a rubber seal that creates a pressure chamber. In 2019, Aeropress released the Aeropress Origin, an updated model with a slightly revised design that some users find easier to assemble. Both models work with all techniques described in this guide.
 The Aeropress Classic (left) and Aeropress GO (right) — both use the same brewing chamber and produce identical results. The GO model includes a lid and is designed for travel.
The Standard (Classic) Aeropress Method
The standard method is the one Alan Adler originally designed and what you will find in the official Aeropress instruction pamphlet. It is fast, foolproof, and produces a clean, concentrated cup that works as an espresso-style base for milk drinks or as a standalone coffee. If you are new to the Aeropress, start here.
What You Need
- Aeropress
- Paper filter (included with every Aeropress)
- Kettle with temperature control
- Burr grinder (or quality pre-ground coffee)
- Scale
- Timer
- Mug
Step-by-Step
-
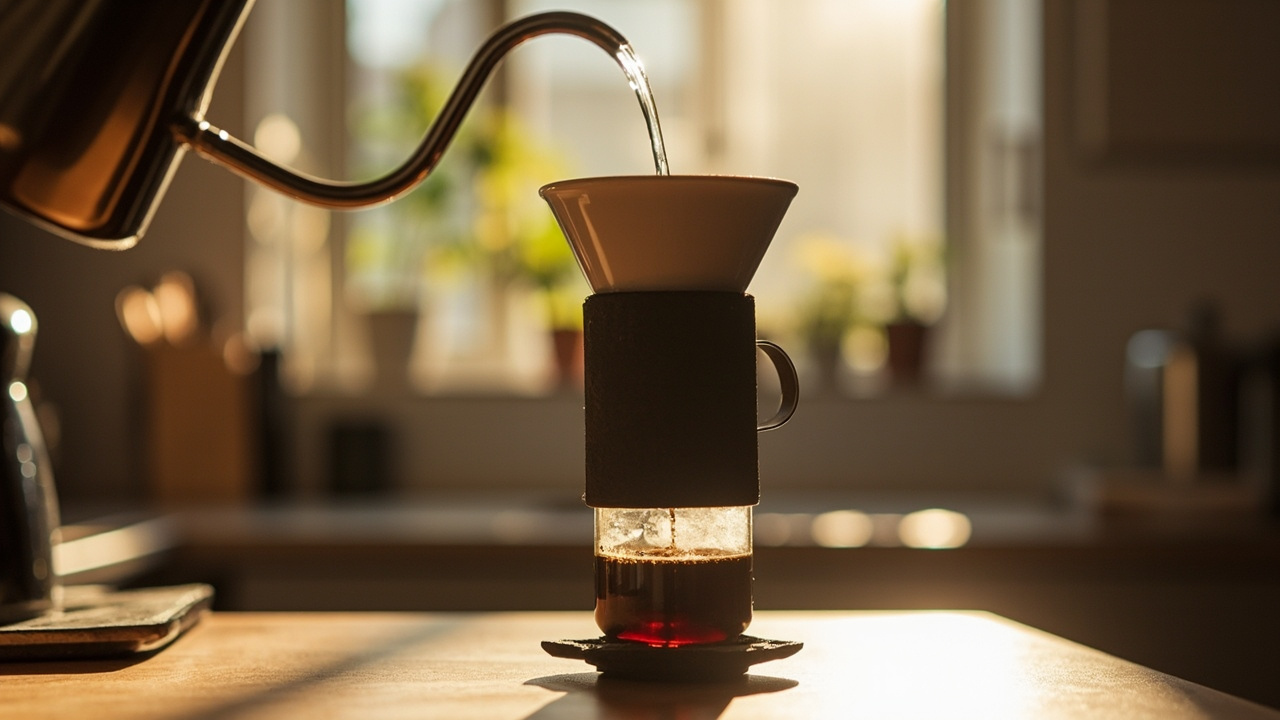
Prepare your filter: Insert a paper filter into the filter cap and rinse it with hot water. This removes any paper taste and pre-heats the cap. Attach the cap to the brewing chamber and place the Aeropress over your mug with the cap facing down.
-
Grind your coffee: Aim for a medium-fine grind — about the consistency of table salt. Use 17 to 18 grams of coffee (approximately one Aeropress scoopful).
-
Add coffee to the chamber: Place the ground coffee into the open end of the Aeropress chamber sitting on your mug.
-
Add water: Start your timer. Pour 220 to 250 ml of water at 80 to 85 degrees Celsius (176 to 185 Fahrenheit) over the grounds. Ensure all grounds are saturated. Give it a brief stir with a paddle or spoon.
-
Insert the plunger: After about 10 to 15 seconds of steeping, insert the plunger into the top of the chamber. Push down gently until you feel resistance.
-
Press: Press down steadily over 20 to 30 seconds. You should hear a gentle hissing sound as air moves through. Stop pressing when you hear the plunger bottom out.
-
Serve: Remove the Aeropress from your mug. You now have a concentrated coffee that can be drunk as-is or diluted with hot water or milk.
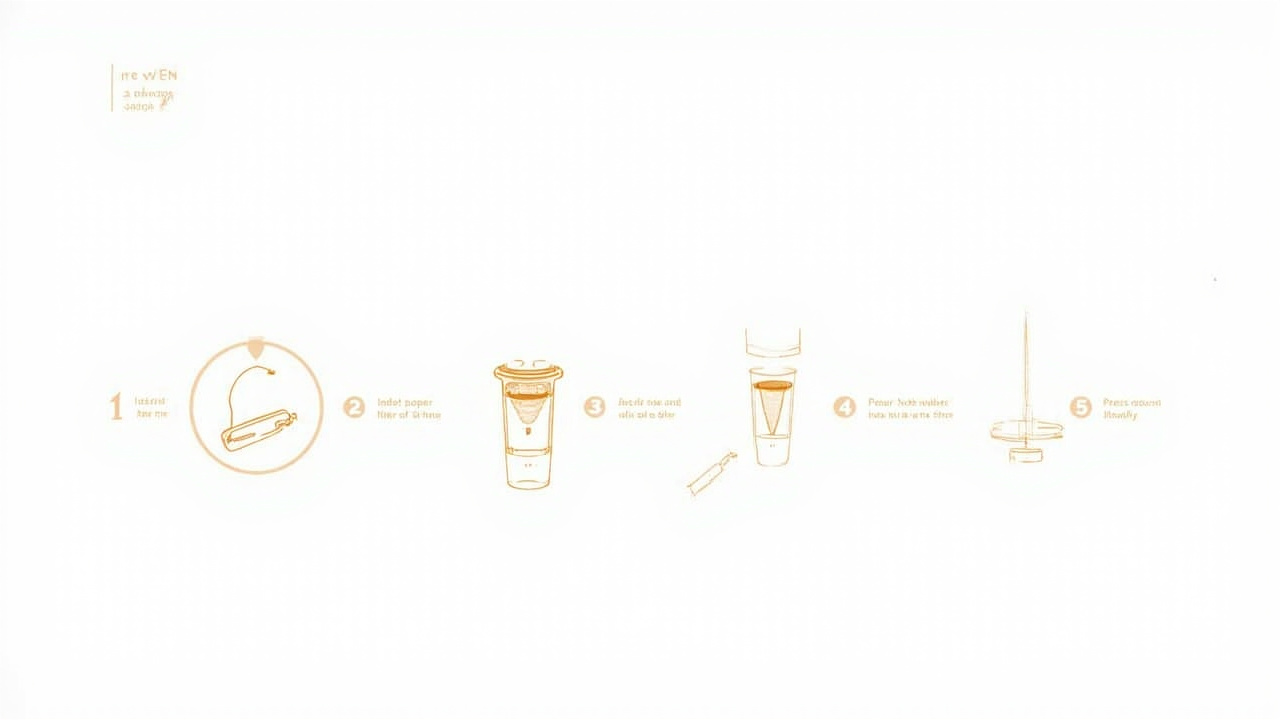 The standard Aeropress method in five steps: rinse the filter, add grounds, pour water, insert plunger, and press.
The result is a clean, full-bodied cup with less acidity than pour-over and more body than immersion methods. If you want to explore the full range of what the Aeropress can do, the standard method is your foundation.
If you enjoyed the cold brew article on Home Coffee Spot, you might also like our guide to cold brew coffee at home — it covers an entirely different brewing philosophy that rewards patience.
The Inverted Aeropress Method
The inverted method is the most popular advanced technique in the Aeropress community. It addresses one fundamental limitation of the standard method: in the standard orientation, water begins dripping through the filter the moment you add it, meaning your steep time and water contact are not fully under your control.
By flipping the Aeropress upside down — with the plunger at the bottom and the open filter cap at the top — you create a sealed immersion chamber. Nothing can escape until you flip the entire assembly and press. This gives you total control over steep time, which is the single most important variable in extraction.
Why Inverted?
When coffee grounds are immersed in water, flavor compounds extract over time. The rate of extraction follows a curve: under-extracted coffee tastes sour and weak; optimally extracted coffee tastes sweet, balanced, and complex; over-extracted coffee tastes bitter and harsh. The inverted method lets you hold the coffee at the optimal extraction point before pressing.
This technique is especially effective when:
- You want a stronger, more concentrated cup
- You are using a darker roast that extracts quickly
- You want to experiment with very long steep times (up to 5 minutes)
- You are brewing for competition
Step-by-Step
-
Set up inverted: Turn your Aeropress upside down so the plunger is facing upward and the open end (where the filter cap would go) is at the top. Rest the plunger end on a flat surface.
-
Add coffee and water: Add 18 to 20 grams of medium-fine ground coffee. Pour 200 to 250 ml of water at 80 to 85 degrees Celsius. Stir gently to saturate all grounds.
-
Steep: Let the coffee steep for 90 seconds to 3 minutes, depending on your taste preferences. Longer steep times yield a richer, more full-bodied cup.
-
Attach the filter cap: After steeping, carefully attach the wetted filter cap to the top of the chamber. Be gentle during this step — the chamber is now full of coffee and water.
-
Flip: Place your mug on top of the filter cap and carefully flip the entire assembly in one smooth motion.
-
Press: Begin pressing immediately after flipping. Press steadily over 20 to 30 seconds until all liquid has been forced through.
 The inverted Aeropress creates a sealed immersion chamber, giving you complete control over steep time before pressing.
The inverted method is what most World Aeropress Championship competitors use as a base for their recipes. It is more technique-sensitive than the standard method — the flip requires a steady hand — but the results are noticeably superior in terms of body and flavor complexity.
For a complete comparison of immersion vs pressure brewing, see our pour-over vs French press guide which covers the science of extraction in depth.
The Espresso-Style Technique
The Aeropress is not an espresso machine. True espresso requires nine bars of pressure generated by an electric pump, and the Aeropress generates only about 1 to 2 bars of pressure from hand power. But the Aeropress can produce a concentrated, rich coffee that functions exactly like espresso in drinks like lattes, cappuccinos, flat whites, and Americanos.
The key is in the ratio and the grind. By using much more coffee per serving and a very fine grind, you can produce a small, intensely flavored concentrate that behaves like espresso.
Recipe
- Coffee: 20 to 22 grams, ground very fine (finer than table salt)
- Water: 40 to 50 ml at 90 to 93 degrees Celsius (194 to 199 Fahrenheit)
- Yield: Approximately 35 to 45 ml of concentrate
Method
- Use the standard orientation (filter cap down, plunger at top).
- Add the filter and rinse it.
- Add the 20 to 22 grams of very fine coffee.
- Pour water in a slow, deliberate spiral over the grounds.
- Give it a 30-second steep.
- Press slowly and steadily over 30 to 40 seconds. A slow press is key — it increases the pressure differential and produces a more espresso-like crema.
The result will have noticeably more body and crema than a standard Aeropress brew. It works beautifully as the base for home lattes and cappuccinos. Many home baristas who cannot fit an espresso machine in their kitchen use this technique as their daily espresso replacement.
 A well-pressed Aeropress espresso-style shot produces a thin layer of crema — the mark of a properly extracted concentrate.
If you want to learn more about brewing equipment options, our guide to the best espresso machines under $500 covers alternatives for every budget and kitchen size.
The Metal Filter Technique
By default, every Aeropress ships with paper filters. Paper filters produce a very clean cup — all the coffee oils and fine particles are trapped, resulting in a bright, clear liquid with no sediment. This is similar to the cup you get from a pour-over.
But paper filters also remove some of the compounds that give coffee its body and richness. Coffee oils — called diterpenes — are largely responsible for the full, creamy mouthfeel that makes a shot of espresso feel satisfying in your mouth. Metal filters let these oils through.
The Aeropress metal filter (sometimes called the "permanent filter") is a fine stainless steel disc that screws into the filter cap in place of the paper filter. It is reusable, economical, and produces a noticeably different cup.
What Changes With a Metal Filter
- Body: Significantly richer and more full-bodied
- Texture: Slightly thicker, more like French press coffee
- Clarity: Less bright and clear — some fine sediment may reach your cup
- Cleanup: No paper filters to discard — just rinse and reuse
Recommended Use
The metal filter is excellent for:
- Milk-based drinks where body and texture matter more than clarity
- Dark roast coffees that benefit from the additional richness
- Travelers who do not want to carry a stock of paper filters
- Anyone who wants a more "indulgent" coffee experience
Because metal filters do not remove the coffee oils, you may notice more bitterness in darker roasts. This is not a flaw — it is a characteristic. Experiment with slightly lighter roast levels when using the metal filter to balance the additional body.
For more on how different filter types affect coffee flavor, see our guide to pour-over coffee makers and the filters they use.
The Immersion (Long Brew) Technique
The standard and inverted methods described above both involve some degree of immersion, but the immersion technique pushes this principle to its logical extreme. You steep coffee in the Aeropress for an extended period — up to 10 or even 15 minutes — then press and drink.
This technique is borrowed from cold brew and French press philosophy: longer contact time between water and grounds produces a different, often smoother and less acidic flavor profile. At higher temperatures (80 to 90 degrees Celsius), extended immersion still extracts well because the Aeropress chamber is sealed and there is no convection-driven agitation.
Recipe
- Coffee: 20 grams, medium grind
- Water: 300 ml at 82 to 85 degrees Celsius
- Steep time: 8 to 12 minutes
- Press: Standard 20 to 30 second press
Why It Works
The long steep time allows water to fully hydrate the coffee particles and extract even the slowest-releasing flavor compounds. The result tends to be:
- Smoother and less acidic
- More uniform in extraction (fewer bitter hotspots)
- Lower in perceived bitterness despite the long contact time
- Ideal for lighter roasts that typically require higher extraction times
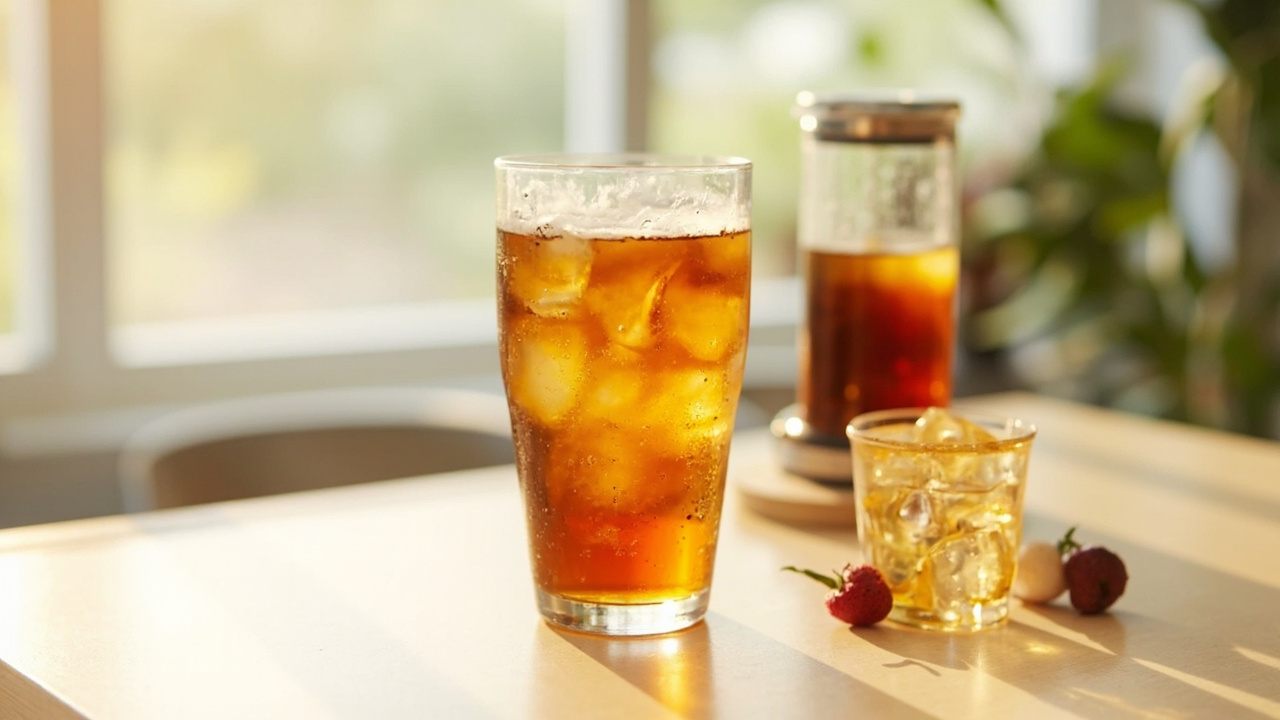
This technique is particularly popular in Southeast Asia, where it is sometimes called the "Thai iced coffee" method — the long-steeped concentrate holds up well over ice with sweetened condensed milk.
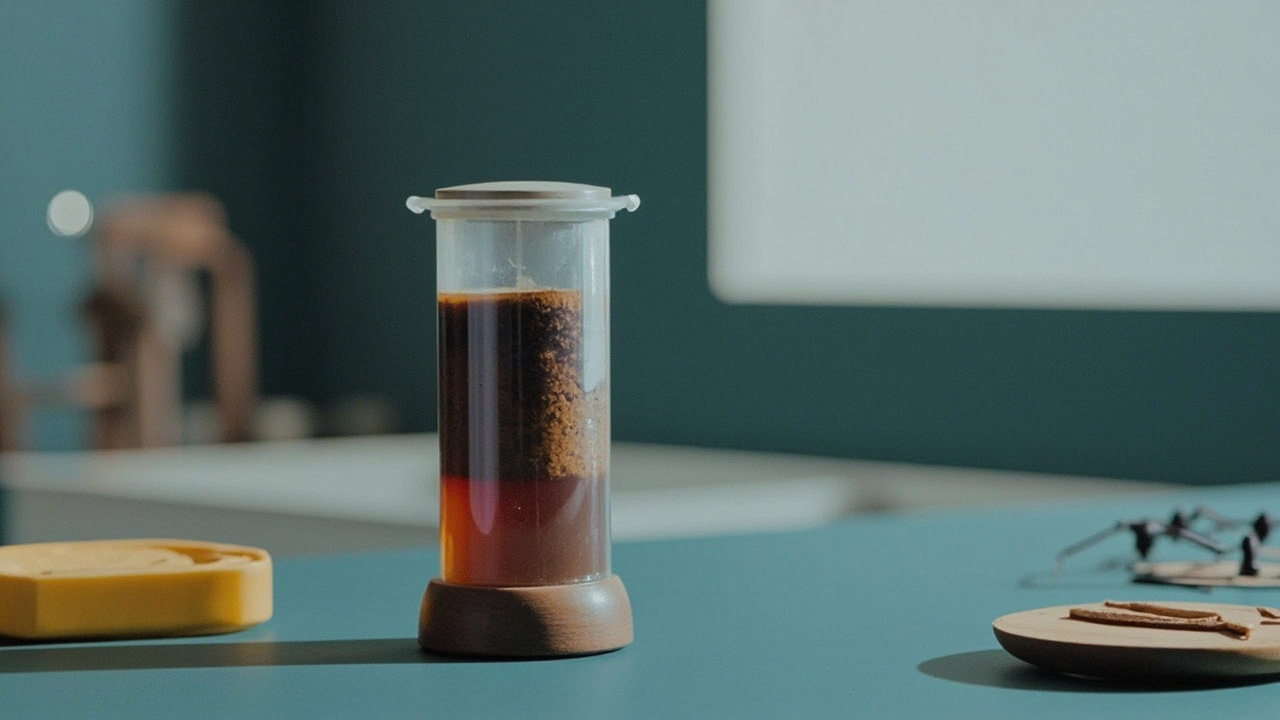 The long immersion technique produces a smooth, sweet concentrate that holds up exceptionally well over ice for iced coffee drinks.
The Cool to Hot (Flash Brew) Technique
The flash brew (or cool-to-hot) technique inverts the typical order: you add cold water to the Aeropress chamber first, then add coffee grounds and stir, then press immediately. The result is a brew that is somewhere between cold brew and hot coffee in character — bright, clean, and surprisingly complex.
This technique is an Aeropress adaptation of the Japanese flash brew method used in specialty coffee shops. It is exceptionally fast (total brew time under two minutes) and produces a cup that works perfectly both hot and over ice.
Recipe
- Add 200 ml of cold or room-temperature filtered water to the Aeropress chamber (filter cap attached, sitting on your mug).
- Add 15 grams of medium-fine coffee grounds.
- Stir vigorously for 10 to 15 seconds.
- Press immediately over 15 to 20 seconds.
- Serve hot or over ice.
The key to this method is the vigorous stir — it mimics the agitation that would normally come from pouring hot water over grounds. Because the water is not hot, extraction is slower and the bitterness compounds have less chance to dissolve. The result is a surprisingly sweet, clean cup.
This technique is ideal for:
- Summer mornings when you want hot coffee but the kitchen is warm
- Quick brewing when you are in a rush
- Single-origin coffees that you want to showcase in their clearest form
- Anyone who finds hot-brewed Aeropress coffee too bitter
 Flash brew Aeropress coffee is refreshing hot or over ice — the cold water extraction produces a surprisingly sweet and clean cup.
Comparing the Top Aeropress Techniques
Choosing the right technique depends on your taste preferences, available time, and the type of coffee you are brewing. This comparison table breaks down the key differences.
| Technique | Brew Time | Strength | Body | Best For | Difficulty |
|---|---|---|---|---|---|
| Standard Method | 2–3 minutes | Medium | Medium | Espresso-style drinks, beginners | Easy |
| Inverted Method | 3–5 minutes | Medium-Strong | Full | Flavor complexity, enthusiasts | Moderate |
| Espresso-Style | 3–5 minutes | Very Strong | Very Full | Lattes, cappuccinos, true espresso fans | Moderate |
| Metal Filter | 2–3 minutes | Medium-Strong | Rich/Full | Dark roasts, milk drinks, travelers | Easy |
| Immersion (Long Brew) | 10–15 minutes | Medium-Strong | Smooth/Full | Light roasts, iced coffee, cold brew fans | Easy |
| Flash Brew (Cool-to-Hot) | 1–2 minutes | Light-Medium | Clean/Bright | Summer brewing, quick brew, showcase origins | Easy |
The standard method is the fastest and most accessible. The inverted method rewards patience with superior flavor complexity. The espresso-style technique is your best bet for milk-based drinks. Metal filters add body and richness at the cost of some clarity. Immersion brewing is ideal for light roasts and iced coffee applications. Flash brew is the quickest path to a sweet, clean cup.
For a broader look at how the Aeropress compares to other popular brewing methods, see our guide to French press vs pour-over coffee.
Common Mistakes to Avoid
Even experienced Aeropress users fall into habits that hurt their coffee quality. Here are the most common mistakes and how to fix them.
1. Grind Size Is Too Fine or Too Coarse
The single most common Aeropress error. Too fine a grind causes the water to struggle to pass through, resulting in over-extraction and a bitter, murky cup. Too coarse a grind lets water rush through without adequate extraction, producing a sour, weak result. A medium-fine grind (table salt consistency) is the right starting point for most techniques. Adjust from there.
2. Water Temperature Is Wrong
Too hot (above 95 degrees Celsius) over-extracts the grounds and introduces bitterness. Too cool (below 75 degrees) results in weak, sour extraction. For most coffees, 80 to 85 degrees Celsius is the sweet spot. For darker roasts, go slightly cooler (75 to 80 degrees). For lighter roasts, slightly hotter (85 to 90 degrees).
3. Pressing Too Fast or Too Hard
A rushed press produces channeling — water finds the path of least resistance through the coffee bed rather than extracting evenly. A slow, steady press over 20 to 30 seconds gives the water time to interact with all the grounds. You do not need to press hard. Gentle, consistent pressure is all that is required.
4. Skipping the Filter Rinse
Paper filters have a natural paper taste that transfers to your coffee if you do not rinse them first. Always rinse your paper filter with hot water before use. This also pre-heats the Aeropress chamber, which helps maintain consistent brewing temperature.
5. Not Adjusting for Bean Origin and Roast Level
The recipe that works beautifully for a Brazilian medium roast may produce disappointing results with an Ethiopian light roast. Lighter roasts generally need finer grinds, hotter water, and longer steep times to extract fully. Darker roasts often perform better with coarser grinds and slightly cooler water to avoid over-extraction.
6. Using Pre-Ground Coffee
Whole bean coffee starts degrading the moment it is ground. For the best Aeropress results, grind your coffee immediately before brewing. Even a modest burr grinder like the Hario Skerton or JavaPressen hand grinder produces dramatically better results than a blade grinder or pre-ground coffee from a grocery store.
For a deeper look at why grind quality matters so much, see our burr grinder vs blade grinder comparison.
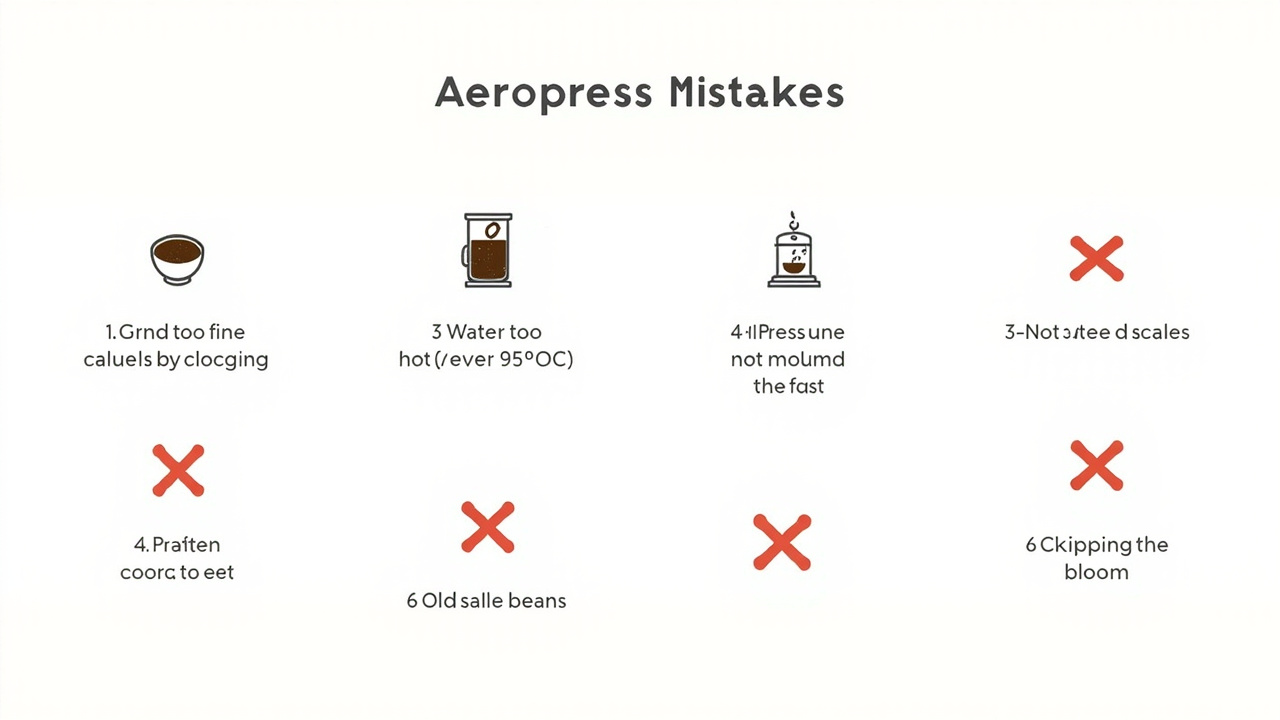 Three common Aeropress mistakes: grind too fine (clogging), pressing too fast (channeling), and wrong water temperature (bitter or sour results).
Equipment Recommendations
A great Aeropress brew starts with the right equipment. Here are the key pieces every home Aeropress barista should consider.
The Aeropress Itself
The original Aeropress Classic and the Aeropress GO are both excellent choices. If you are also into precision cooking or want to explore another versatile kitchen appliance, check out our guide to the best air fryers at airfryerzone.com — same philosophy of small investments delivering outsized results. The GO model includes a travel lid and is slightly more compact — ideal if you plan to brew on the go. The Classic is the standard and what all competition recipes are based on.
Burr Grinder
Whole bean coffee is non-negotiable for the best results. A quality burr grinder like the Hario Skerton (manual, affordable) or the OXO Brew Conical Burr Grinder (electric, consistent) will transform your Aeropress coffee.
Kettle
A gooseneck kettle with temperature control is ideal for Aeropress brewing. The narrow spout gives you precise control over pour rate and pattern. The Hario V60 Drip Kettle is a perennial favorite, and the Fellow Stagg EKG offers variable temperature control with a built-in timer.
Scale and Timer
Consistent results require consistent measurements. A kitchen scale that reads to 0.1 grams (like the Apex Digital Kitchen Scale) and a simple timer are all you need.
Metal Filter
The Aeropress metal filter is worth having for switching between clean, bright brews (paper) and rich, full-bodied cups (metal). It pays for itself after a few uses by eliminating the need to buy paper filters.
Travel Accessories
If you travel with your Aeropress, consider a silicone Bib茶杯 carry case or the dedicated Aeropress GO travel pouch. Many Aeropress users take their brewer on camping trips, to hotels, or to the office.
For a complete guide to home coffee setups at every budget, see our guide to home espresso machines.
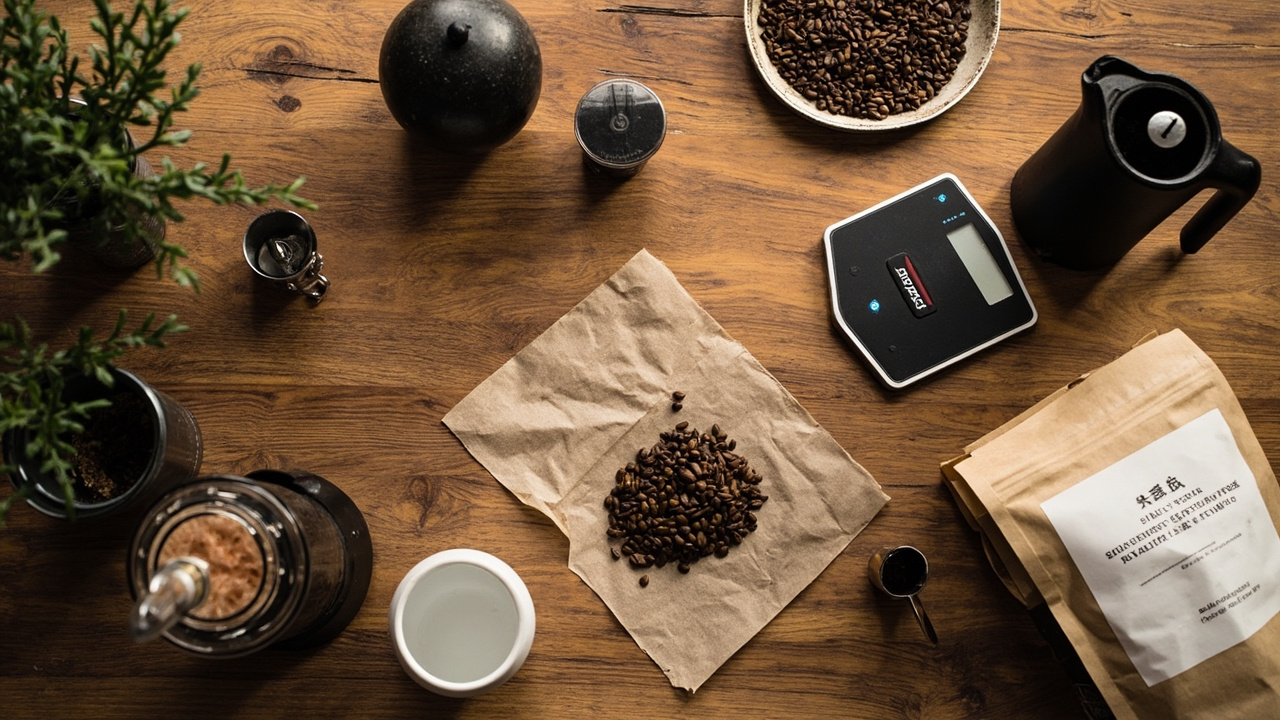 Essential Aeropress equipment: quality burr grinder, gooseneck kettle with temperature control, precision scale, and a metal filter for versatility.
Frequently Asked Questions
What is the best technique for using an Aeropress?
The best Aeropress technique depends on your taste preferences. The classic standard method produces a clean, espresso-style cup. The inverted method gives you full immersion control and is preferred by enthusiasts. The metal filter technique yields a richer, more textured cup. Start with the standard method and experiment to find your preferred style.
What is the inverted Aeropress method?
The inverted Aeropress method involves flipping the Aeropress upside down so the plunger faces upward and the filter cap is at the top. This gives you complete control over the steeping time since nothing can drip through until you flip and press. It is the most popular technique among Aeropress enthusiasts.
What is the ideal grind size for Aeropress coffee?
For most Aeropress techniques, a medium-fine grind is ideal — similar to table salt in consistency. Finer grinds produce a stronger, more espresso-like cup but can risk over-extraction and clogging. Coarser grinds yield a lighter, cleaner cup. Adjust based on your technique and taste preferences.
How long should you press the Aeropress?
A standard Aeropress press should take approximately 20 to 30 seconds. Press steadily and smoothly without stopping. If your press takes significantly longer, your grind may be too fine or you may be pressing too slowly. If it runs through too quickly, try a finer grind or a slower, more consistent press.
Can the Aeropress make espresso-style coffee?
Yes. While the Aeropress does not produce true espresso (which requires 9 bars of pressure), it can produce a concentrated, rich coffee that resembles espresso. Use a fine grind, a 1:1 or 1:2 coffee-to-water ratio, and press firmly. The resulting shot works well as a base for Americanos, lattes, and other milk-based drinks.
What is the best coffee-to-water ratio for the Aeropress?
A common starting ratio is 1:12 (one part coffee to 12 parts water by weight). For a stronger, espresso-style concentrate, use 1:1 or 1:2. For a lighter, filter-coffee style cup, try 1:15 to 1:16. Adjust to taste — the Aeropress is forgiving and rewards experimentation.
What is the difference between paper and metal Aeropress filters?
Paper filters produce a clean, grit-free cup with bright acidity and clear flavors — similar to pour-over coffee. Metal filters allow oils and fine particles through, creating a richer, fuller-bodied cup with more texture. Many brewers use paper filters for everyday use and switch to metal for a more indulgent cup.
Sources & Further Reading
- Adler, A. (2012). "The Aeropress Book: Essays and Observations on the Art and Science of Great Coffee." AeroPress Inc. https://aeropress.com
- World Aeropress Championship. (2025). Official competition recipes and technique archives. https://worldaeropress.com
- Specialty Coffee Association (SCA). (2023). "Coffee Brewing Standards: Water Quality and Extraction Guidelines." https://sca.coffee
- Illy, A. & Viani, R. (2005). "Espresso Coffee: The Science of Quality." 2nd Edition. Academic Press. https://books.google.com
- World Coffee Research (WCR). (2025). "Best Practices for Coffee Brewing: Extraction Science and Sensory Quality." https://worldcoffeeresearch.org
- Coffee Chemistry. (2024). "The Role of Diterpenes in Coffee Body and Flavor." https://coffechemistry.com
Last updated: June 2026
Rachel Chen is a coffee brewing specialist with over eight years of experience in specialty coffee. She has worked as a barista trainer, home brewing consultant, and product reviewer for home coffee equipment. She holds an SCA (Specialty Coffee Association) Brewing Fundamentals certification and writes about all things coffee for Home Coffee Spot. When she is not testing coffee gear, she is probably brewing a cup using whichever method she has not written about yet.