Guide
Gooseneck Kettle Buying Guide: Control, Capacity and Safety (2026)
By Home Coffee Spot Editorial Team · Updated 2026-08-18
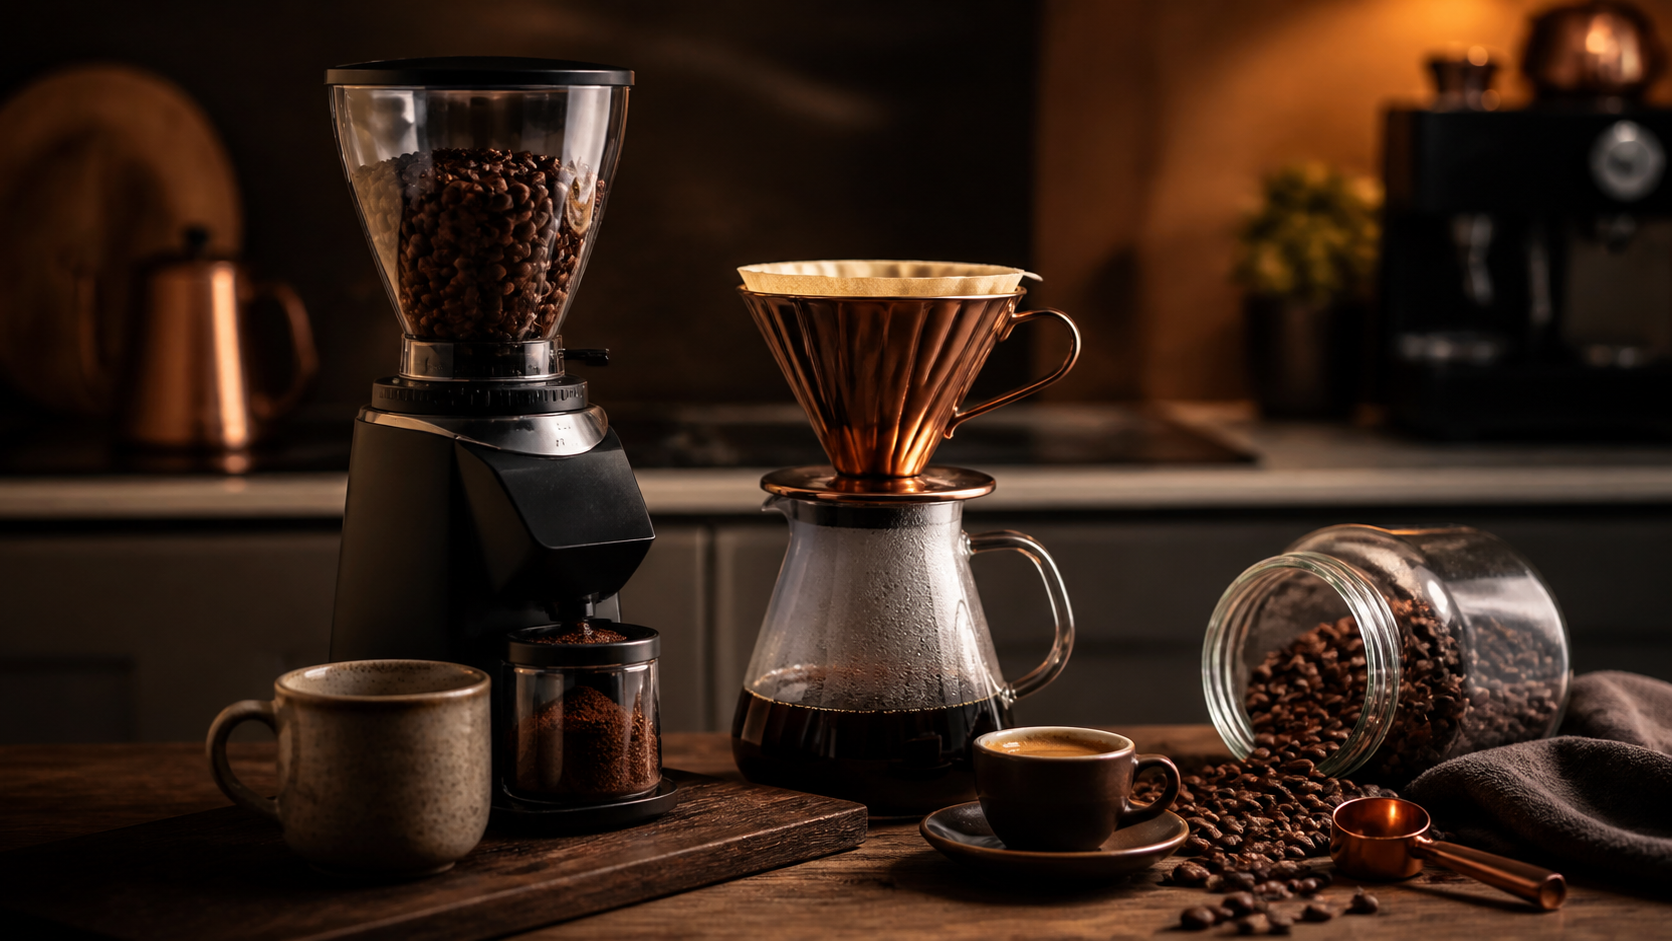
Quick answer: choose a gooseneck kettle only if controlled pouring matters to your brew method. Prioritize a comfortable, balanced handle; a lid that stays secure; a predictable stream; enough usable capacity; clear minimum and maximum fill marks; and credible electrical or stovetop documentation. Variable temperature and hold modes are useful when you will actually use them, but they do not compensate for an awkward or unsafe kettle.
Affiliate disclosure: Home Coffee Spot may earn a commission from qualifying purchases through clearly marked Amazon links. We have not hands-on tested the retailer results in this article. The guide evaluates design and documentation criteria, not named-product performance.
Hot water causes serious burns. Keep kettles and cords away from counter edges and children, use the designated handle, do not overfill, and follow the manufacturer’s instructions. Stop using an electric kettle with a damaged cord, plug, base, switch or leaking body.
Table of Contents
- Who needs a gooseneck kettle
- Electric versus stovetop
- Understanding capacity
- Temperature control
- Twelve buying criteria
- How to assess pour control
- Electrical and burn safety
- Materials, scale and cleaning
- Workflow examples
- Decision checklist
- Frequently asked questions
- Sources and method
Who needs a gooseneck kettle
A long, narrow spout restricts and directs water flow. That is useful for manual pour-over, where you may want to wet the coffee evenly, pour within a chosen area and control the addition rate. It is less important for French press, tea, instant drinks or filling an automatic brewer, where a conventional kettle is usually faster and simpler.
A gooseneck does not guarantee precise pouring. Spout diameter, bend, attachment height, venting, handle geometry and the amount of water all influence the stream. Nor does it improve coffee independently: grind, coffee-to-water ratio, water quality, temperature, agitation and contact time still shape the cup.
Before buying, try pouring from your current kettle into the empty brewer with cool water. If the main problem is excessive flow or poor aim, a gooseneck may help. If the problem is an inconsistent recipe, start with a coffee scale and a repeatable method.
Electric versus stovetop
Electric kettle
An electric gooseneck combines heating and pouring. Many models add temperature selection, a display and a hold function. It occupies a power outlet and countertop space and depends on an electronic base.
Advantages can include automatic shutoff, temperature feedback and repeatable settings. Tradeoffs include cord management, electronics near water, potential app dependence, and an internal heater that may complicate cleaning.
Check the voltage and plug for the country of use. Do not use a travel adapter to operate a high-power kettle that was not designed for the local supply. Certification marks and recalls are region-specific.
Stovetop kettle
A stovetop model is mechanically simpler and can work without an outlet. Some include a lid thermometer. It depends on the compatibility and control of the heat source and does not normally shut itself off.
Confirm induction compatibility if needed. A small base on a large gas flame can overheat the handle, spout or finish; flames should not rise around the sides. Never leave a heating kettle unattended.
Separate temperature control
If you already own a safe conventional kettle, a pouring vessel can provide control without another heating appliance. Transferring boiling water creates an additional burn step, however, and the vessel must be designed for the temperature and handling involved.
Understanding capacity
Advertised capacity may be the absolute maximum, not a practical pour-over load. The usable amount is bounded by the maximum line, minimum heating level, headspace needed to avoid spitting, and the weight you can control comfortably.
For one mug, calculate the brew water plus rinse and preheat water. A 300-gram brew might use additional water to rinse a paper filter and warm the server. For two brews, decide whether you prefer one heavier fill or reheating a lighter kettle.
Larger is not automatically better. Extra water adds wrist load and changes balance. A large kettle filled minimally may pour differently because the water level and pressure are lower. A smaller kettle can be easier to guide, while a larger household may value fewer refills.
Always respect the minimum line on an electric kettle so the heating element or sensor operates as designed. Respect the maximum line to reduce boil-over and spitting. A lid should remain secure at any approved fill level.
Temperature control
The Specialty Coffee Association’s brewing standards are often used as a reference for coffee preparation, but a single setting is not mandatory for every bean or method. Roast level, altitude, grinder, contact time and preference influence the useful temperature range.
Fixed boil
A simple kettle heats until boiling and switches off. It is sufficient if you consistently use water near boiling or wait a repeatable time before pouring. It has fewer controls to learn.
Preset buttons
Presets are quick but may be labeled by beverage rather than an exact temperature. Check the actual values and whether units can switch safely between Celsius and Fahrenheit.
Degree-by-degree control
Fine selection supports experimentation. Display precision does not prove water is exactly at the shown temperature throughout the kettle. Sensor location, water volume, altitude and heat retention matter.
Hold mode
A hold function can maintain or periodically restore a target for multiple brews. Check duration, how to cancel it, energy use, audible alerts and whether boil-dry protection still operates. Do not leave the kettle unattended merely because it has a hold mode.
Calibration claims
Some products offer adjustment against a reference thermometer. Follow the manual and use appropriate equipment. Avoid declaring a home utensil calibrated from a casual comparison.
Twelve buying criteria
1. Handle balance
Balance matters more than an empty-kettle photograph. The center of mass moves as water leaves. Look for enough distance from the hot body, a shape that supports a neutral grip and no sharp seam. People with limited strength should prioritize a lighter usable fill.
2. Stream range
A useful spout should produce a slow controlled stream without dribbling down the body and a faster stream for the main pour without surging. Extremely restricted flow can make larger brews tedious.
3. Spout attachment
Inspect the joint for smooth construction and credible leakage coverage. A low attachment can affect usable capacity; a high attachment may require more tilt before water flows. Neither is universally best.
4. Lid security and venting
The lid should stay in place at normal pouring angles and release steam away from the gripping hand. A very tight lid may be difficult to remove; a loose lid can fall. Check the manual rather than bending clips experimentally.
5. Fill opening
The opening should be large enough to fill and clean without contacting sharp edges. Confirm you can see the maximum line. An exterior gauge is convenient but adds seals that can potentially age.
6. Usable capacity
Choose for the usual brew, not the rare largest event. Account for rinse water, minimum fill and safe headspace. Test the equivalent weight in an ordinary jug to understand wrist load.
7. Base footprint
For electric models, measure the complete base and cord exit. A swivel base can suit right- and left-handed users. For stovetop models, measure the contact area and compare it with burner guidance.
8. Controls and display
Controls should be readable without leaning over steam. Check unit switching, memory behavior after unplugging, timer functions, mute options and whether a wet finger can activate touch controls.
9. Safety functions
Look for documented automatic shutoff and boil-dry protection on electric models. These are backup controls, not permission to leave heating unattended. Check for a credible safety certification appropriate to the market.
10. Cord management
The cord should reach without tension and stay away from sink, heat and edges. Excess cord may store beneath the base if designed for it. Never run a high-power kettle through an unsuitable extension lead.
11. Materials and contact surfaces
Identify the materials that touch water, including lid underside, seals, gauge and spout. “Stainless steel body” does not mean an entirely metal water path. Use the manufacturer’s food-contact and care documentation, not assumptions from appearance.
12. Warranty, parts and recall visibility
Look for a stable manufacturer contact, downloadable manual, warranty terms and a product identifier that can be checked for recalls. Replacement lids or bases can extend useful life, but only use parts approved for the exact model.
How to assess pour control
Perform any trial with cool water first.
The start-stop check
Fill to a typical level, lift with the normal hand, and begin a slow stream over a sink. Note how far the kettle must tilt, whether the first water surges, and whether the stream stops when you return upright. Persistent dripping can disturb a coffee bed and wet the counter.
The circle check
Place an empty brewer over a container and trace slow circles without touching the filter wall. Watch whether the stream lands where intended. The purpose is evaluating control, not rehearsing a rigid coffee ritual.
The flow-range check
Pour 100 grams slowly, then 100 grams more quickly while timing each. A scale helps compare sessions. Do not infer a manufacturer performance rating from a home check, but use it to decide whether the range fits your method.
The balance check
Repeat at high and low approved fill levels. Notice wrist angle, grip pressure, lid movement and whether the base of the kettle blocks the view. Stop if the handle feels insecure. When you later use hot water, keep the other hand away from the lid and body.
The left-handed check
Confirm display, buttons, gauge and cord remain usable when the kettle is lifted with the left hand. A symmetrical handle is helpful, but labels and steam paths can still favor one orientation.
Electrical and burn safety
The US Consumer Product Safety Commission maintains a public recall database. Search the exact brand and model before purchase and register the product where registration is available. Save a photo of the rating label.
Place an electric base on a dry, stable, heat-resistant surface. Keep it away from the sink and do not let water pool beneath it. Lift the kettle from the base before filling unless the manual explicitly says otherwise, and dry the exterior before returning it.
Do not open the lid while water is boiling. Pour away from the body and bystanders. Steam can burn before the metal is touched. Assume the body and lid are hot even if a product is advertised as insulated.
If the kettle boils dry, switches unpredictably, smells electrically hot, sparks, leaks onto the base or has a loose handle, disconnect it safely and stop use. Do not dismantle a mains appliance unless qualified and authorized.
Households with children should keep both kettle and cord out of reach and avoid dangling loops. Empty only when it is safe to do so; a recently switched-off kettle still contains scalding water.
Materials, scale and cleaning
Mineral scale comes from water and can coat the interior and sensor. The rate depends on water hardness and use. Follow the manufacturer’s descaling ratio and contact time. More acid is not automatically better and can damage seals or finishes.
Rinse thoroughly after descaling. Never immerse the electric kettle or base unless the manual explicitly permits it. Do not scrape a heating surface with metal tools. Clean the exterior only after unplugging and cooling.
A narrow spout may retain water. Empty, allow it to drain and store with the lid open if the instructions recommend drying. Do not insert brushes that can become stuck or damage the tube.
Rust-colored marks on stainless steel can have several causes, including deposits or contamination. Use approved cleaning guidance. Pitting, cracks, flaking coatings or leaks warrant manufacturer advice rather than an improvised repair.
Water also influences coffee flavor. If the tap water is safe but heavily mineralized or strongly treated, an appropriate filter may help flavor and scale management. Do not use distilled water as a blanket solution; coffee extraction benefits from an appropriate mineral balance, and appliance manuals may specify water requirements.
Workflow examples
One-cup pour-over
Prioritize light handling, 0.6-to-0.9-liter nominal capacity, a predictable low flow, and either fixed boil or simple temperature selection. Confirm enough water for filter rinse and preheating.
Two consecutive brews
Prioritize usable capacity, hold behavior and comfortable balance at the larger fill. A larger kettle saves reheating but increases wrist load. Consider brewing a shared batch instead of repeating a labor-intensive method.
Espresso plus tea household
A conventional variable-temperature kettle may serve the household better if controlled pour-over is occasional. A gooseneck’s slower flow can frustrate people filling large cups or cookware.
Travel or small kitchen
Measure storage height and base footprint. Stovetop removes an electric base but occupies burner space. Never assume an electric kettle is dual-voltage; verify the rating label.
Accessibility-focused setup
Reduce fill weight, choose a high-contrast display, test lid removal and consider physical buttons. A kettle tipper or other assistive product should be purpose-designed and compatible. Occupational therapy advice may help with individual needs.
What retailer pages often leave unclear
Product listings commonly show total volume without the minimum fill, safe maximum or kettle weight. Those omissions matter together: a person may buy a large model, discover that the minimum requires heating more water than needed, and then struggle with the combined weight. Download the manual before ordering and build a small specification sheet from the primary document.
Heating-time comparisons also need context. Starting water temperature, fill volume, local voltage, altitude and test endpoint can all change the result. A claim such as “boils in four minutes” is not comparable unless those conditions are stated. For most home workflows, a difference of a minute matters less than safe handling and predictable controls.
Temperature graphs and precision labels deserve similar caution. A display reading to one degree is display resolution, not proof that all water is uniform to one degree. Water near the heater and sensor can differ from water at the surface, especially before convection settles. Stirring with an unsuitable utensil can cause burns or damage; follow the manual if the manufacturer recommends a settling period.
Photographs may hide the cord exit, underside storage, seam at the spout, interior maximum line or plastic parts beneath the lid. Look for manual diagrams and owner photographs of the exact current model, not just polished renders. Confirm that reviews refer to the same voltage and generation.
Finally, “BPA-free” is a narrow materials statement, not a complete safety assessment. It does not describe every polymer, temperature limit, electrical design or food-contact authorization. Prefer specific documentation and normal care over a single reassuring badge.
A safe first-week trial
Unpack the kettle, record the model and serial details, inspect for shipping damage, and wash or boil-and-discard exactly as the manual directs. Do not improvise repeated cleaning cycles with concentrated acid or detergent.
For the first cool-water trial, fill at the minimum, middle and intended routine levels. Practice lifting, starting and stopping the stream over the sink. Confirm the lid stays seated and the handle remains comfortable. Then run the first heated cycle in a clear area with no child or pet access, watching for leaks, unusual odor after any expected initial manufacturing smell, control errors or failure to shut off.
Over several days, record the fill, selected temperature, approximate time and whether the controls behaved consistently. This is a functional observation, not a calibration study. Try the actual brewer and scale placement, ensure steam does not fog or damage nearby cabinets, and confirm the cord remains slack.
Keep all packaging until the trial is complete. If a fault appears, stop using the kettle and contact the seller or manufacturer. Do not continue boiling to “see if it clears,” because leaks and electrical faults can escalate.
Decision checklist
- Confirm that controlled pouring solves a real workflow problem.
- Choose electric, stovetop or a separate pouring vessel.
- Calculate routine usable water, including rinse and preheat.
- Test an equivalent filled weight for comfort.
- Decide whether variable temperature and hold will be used.
- Check the handle, lid, vent and stream from credible demonstrations.
- Verify local voltage, plug and safety documentation.
- Read minimum fill, maximum fill and cleaning instructions.
- Search the exact model in the relevant recall database.
- Confirm warranty, returns and manufacturer support.
You can compare gooseneck-kettle search results on Amazon (sponsored). Recheck current model identifiers, electrical ratings and seller details before purchase; placement in those results is not our recommendation.
Frequently asked questions
Does a gooseneck kettle make better coffee?
It can make controlled pouring easier, which helps repeat a pour-over method. It does not independently improve beans, grinding, water or recipe.
What capacity should I buy?
Add brew, rinse and preheat water, then choose an approved usable range with headroom. Avoid buying substantially more capacity than you can comfortably control.
Is variable temperature necessary?
No. It is convenient for experimentation and multiple beverages. A fixed-boil kettle and repeatable waiting routine can work well.
Can I heat milk in it?
Only if the manual explicitly allows it. Most water kettles are designed for water; milk can foam, burn and contaminate internal components.
Is stainless steel always plastic-free?
No. The lid, seals, gauge, handle attachments or spout components may use other materials. Check the full water-contact specification.
Why does the kettle pour unevenly?
Overfilling, insufficient venting, mineral buildup, spout geometry or pouring angle can contribute. Stop using it if flow suggests blockage or unsafe pressure and follow the manual.
How often should I descale?
Use the manufacturer’s interval and adjust for water hardness and visible deposits. Do not wait until a thick layer affects function.
Can I use it on induction?
Only if that exact stovetop model is documented as induction compatible. Magnet response alone is not a complete safety instruction.
Sources and method
- Specialty Coffee Association: Coffee Standards
- US Consumer Product Safety Commission: Recalls
- US Consumer Product Safety Commission: Kitchen safety
- NIST: SI Units—Temperature
- US Food and Drug Administration: Packaging and food-contact substances
We used primary standards and safety sources to create a selection framework. We did not perform temperature calibration, electrical certification, materials analysis or hands-on pour testing. Product models and documentation can change, so verify the exact item at purchase. Last editorial review: 18 August 2026.
Related guides: pour-over coffee, coffee scale buying guide, burr grinder guide, and coffee bean storage.